Hey there ladies and gentlemen, dear painters!
Today i´m coming to you with a step by step article about the question "How do i paint a freehand design?". As this is not a tutorial, but a step by step, i don´t say you HAVE to do it the same way. I`m just showing you how i achieved my result. Maybe it is useful for you.
Let´s get started!
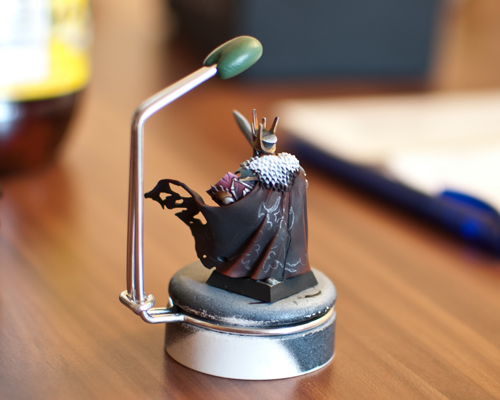
First, i try to imagine, what the freehand should look in the end. Is it a tribal/floral design (like in this case) or is it a whole picture? I drew my design on paper before starting on the mini.

A a next step, i tried to paint the same design onto my Wight Kings cloak. I did this with a softlead pencil, as in my case it is easier to get the lines in place for the first time, without the bending bristles of a brush. ;)
Next comes the (for me) most difficult step. I have to paint the lines with the basecolor (i wanted to achieve a golden Ornament) of the design. Take your time, but don´t be afraid, if it does not look perfect. You can correct any mistakes later.
Basecolor in this case was snakebite leather with a little tip of bestial brown.

From now on the absolut fun begins, as it is not dificult from this stage on. ;) Simply paint the first highlight on the lines. Place the highlights near the prominent parts of the cloak. First highlight here was snakebite leather with a tip of bleached bone.

Next step: enhance highlights. Here with more bleached bone into the previous mix.

Again: MOAR highlights, even MOAR bleached bone ;) I also shaded the lines in the cloaks recesses with a mixture of snakebite leather and dark flesh. Not too dark, just to define the lines more.

We come close to the end, now i corrected and sharpened the ornament by painting thinned chaos black as an (barely visibly) outline. This is the step where you can correct any errors, if your underground is not too complicated or irregular in color.

And as a final step: some extreme highlights with pure skull white. And this is it, the ornament is ready. :)


hallo!!really nice an simple to understand.thanks!!